
I'm very excited to be posting over here at the Moda Bake Shop, it's been awhile. I'm so in love with this fabric by Bonnie and Camille, I couldn't wait to get my hands on it. Come visit me over at my blog for a chance to win some of this super cute fabric for yourself! Our Cozy Nest

3 Fat Eighths (or 3 - 9" x 22" pieces of coordinating fabric)
1/2 yard of fast to fuse fusible interfacing or a similar stiff interfacing
Pattern Pieces - included in Printer Friendly Version at bottom of post.

Step One: Pick three of your favorite coordinating pieces from your fat eighth bundle. Not easy to do since they are all so dang cute!

Step two: Decide which piece of fabric you want to use for the body of your bag. Iron it onto the fusible interfacing.

Step three: Cut out pattern pieces, trace onto fabric, and cut out. You will need to cut two purse pieces. The pattern for the sides and bottom of the purse will need to be traced and then flipped over and traced again on the other side since the fabric will be too stiff to fold.

Here is what you should have:

Step 4 - Do the same thing in step three for the lining of the bag. Note - Be sure and layout your pattern pieces so you have that extra fabric on the right side. This piece of fabric will be used for the "binding" at the top of the purse. You will need to make sure there is 1 1/4" of extra fabric on the right side.

Step 5 - Lay one of the purse pattern pieces down with print side up. Lay your piece for the sides and bottom on top of it with the print side down (like in picture below). Starting on the right side, begin sewing the two together, making sure to back stitch at the beginning and end. Note: Use 1/4" seam allowance on the entire project unless noted otherwise. I'm not much of a pinner and honestly this fabric is going to be so stiff, I'm not sure you could pin it.
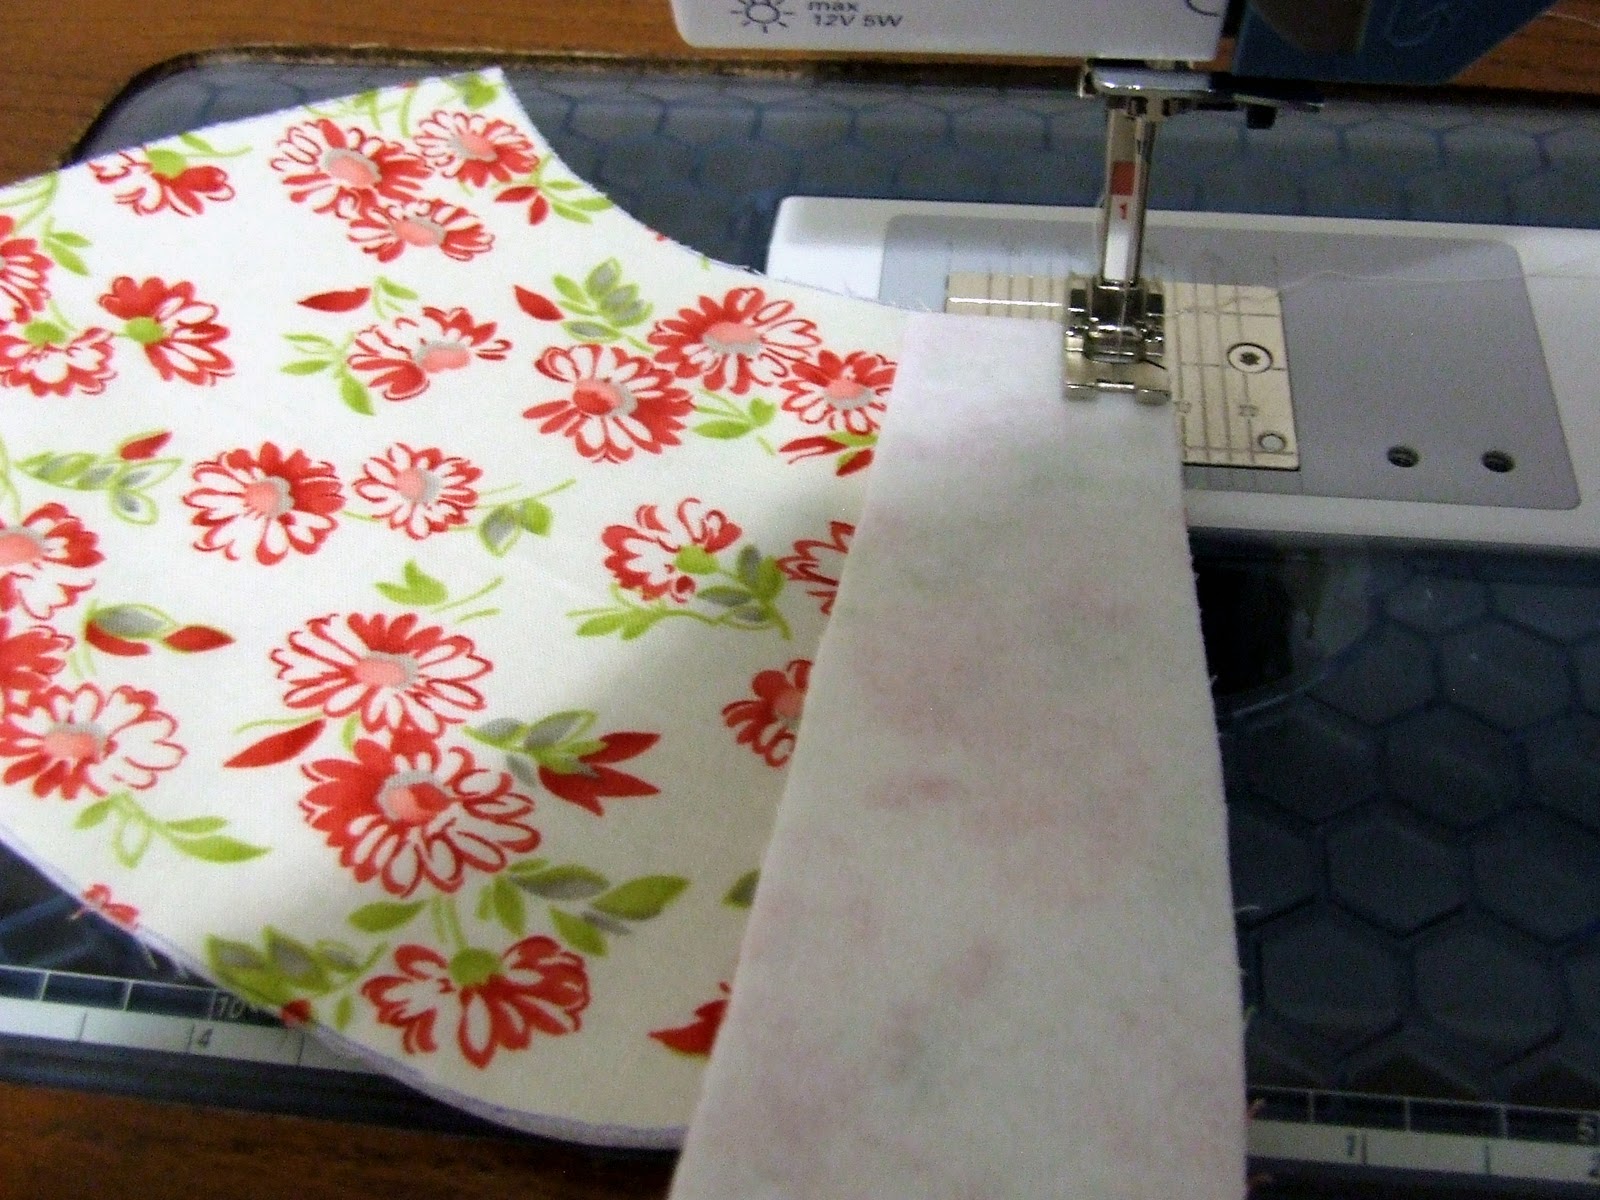
I just sew a little at a time, sort of curving the sidepiece to the fabric piece as you go. I kept my needle down when I lifted up the presser foot to move the fabric.

Step 6 - Now sew the other side of the purse on starting on the right side again. Don't worry too much about having to bend and move the fabric, I just used an iron when I was finished to smooth it out.

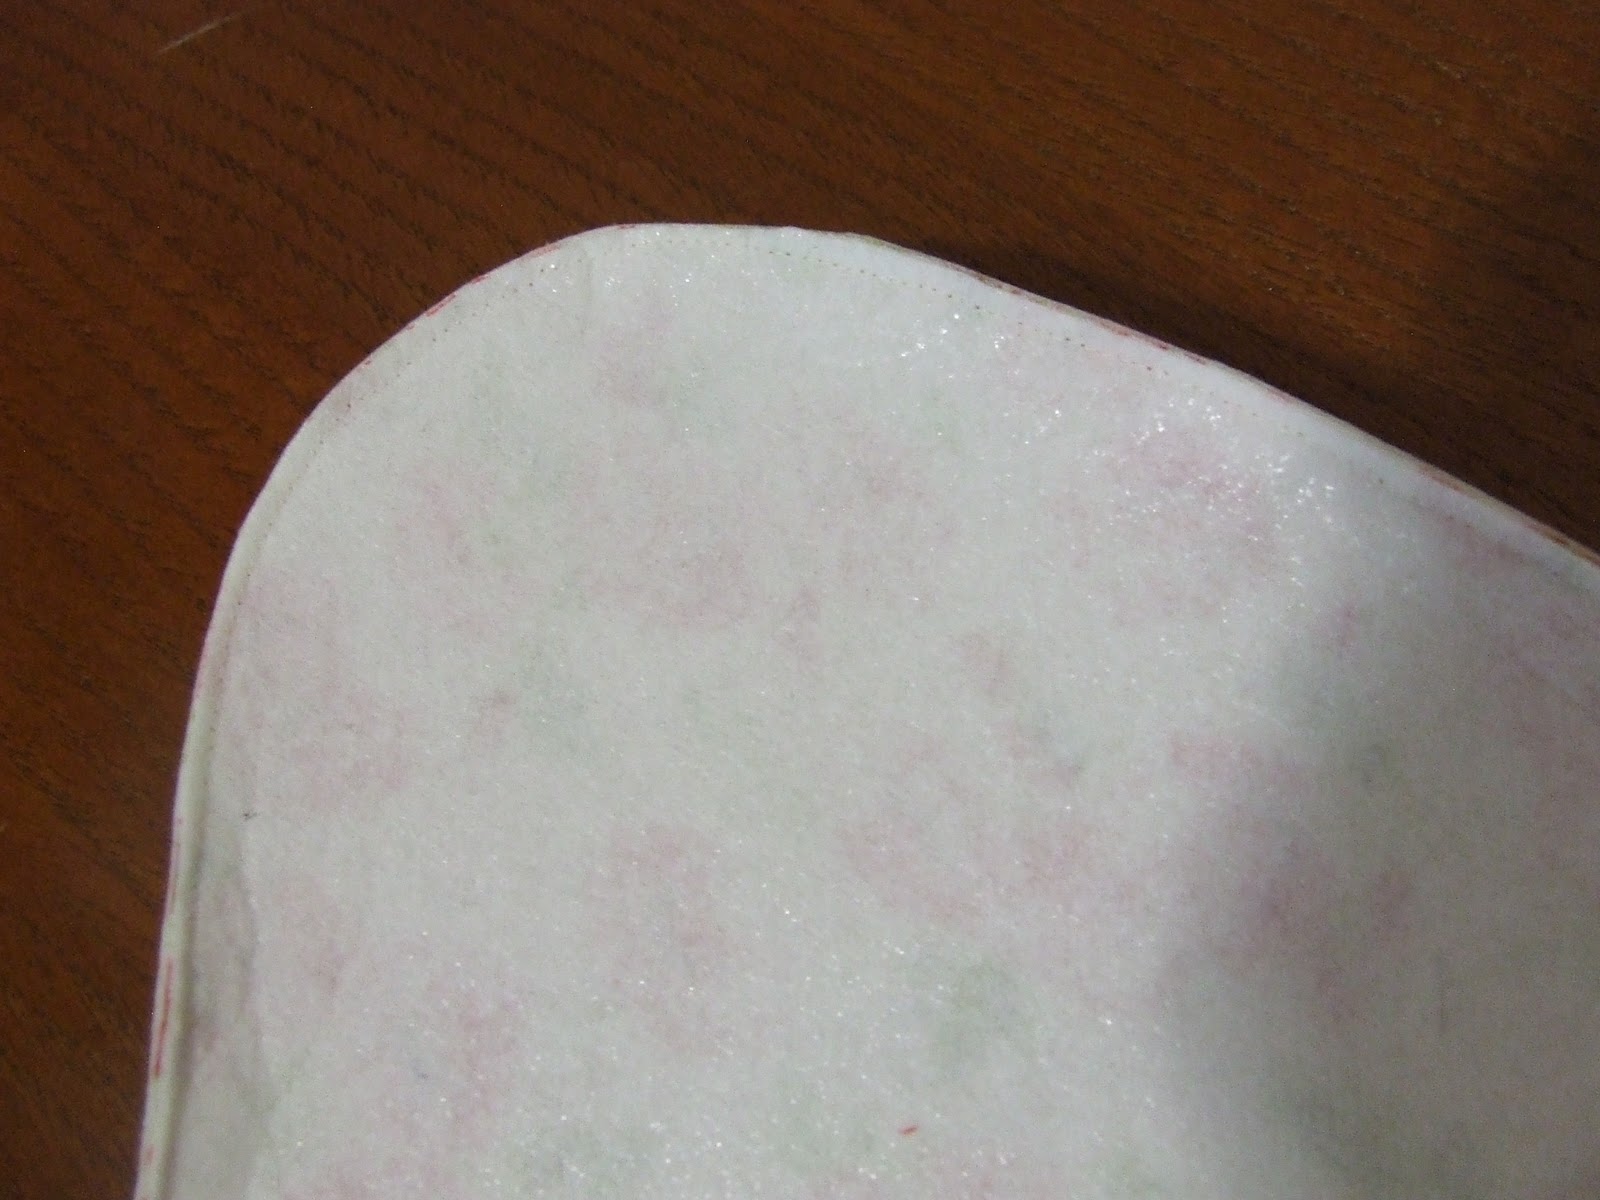
When you're done sewing the body of the bag together, trim the edges of the bag down to about 1/8".
Follow steps 5 and 6 for the lining of the bag. Turn your bag (not the lining) right side out and place the lining inside so that wrong sides are together. Stitch the two together by sewing around the top of your bag using a 1/4" (or a little less) seam allowance. It's embarrassing that it took me a while to figure this out, but it's much easier to do this if you remove the extension table from your machine (that blue plate you see on mine).
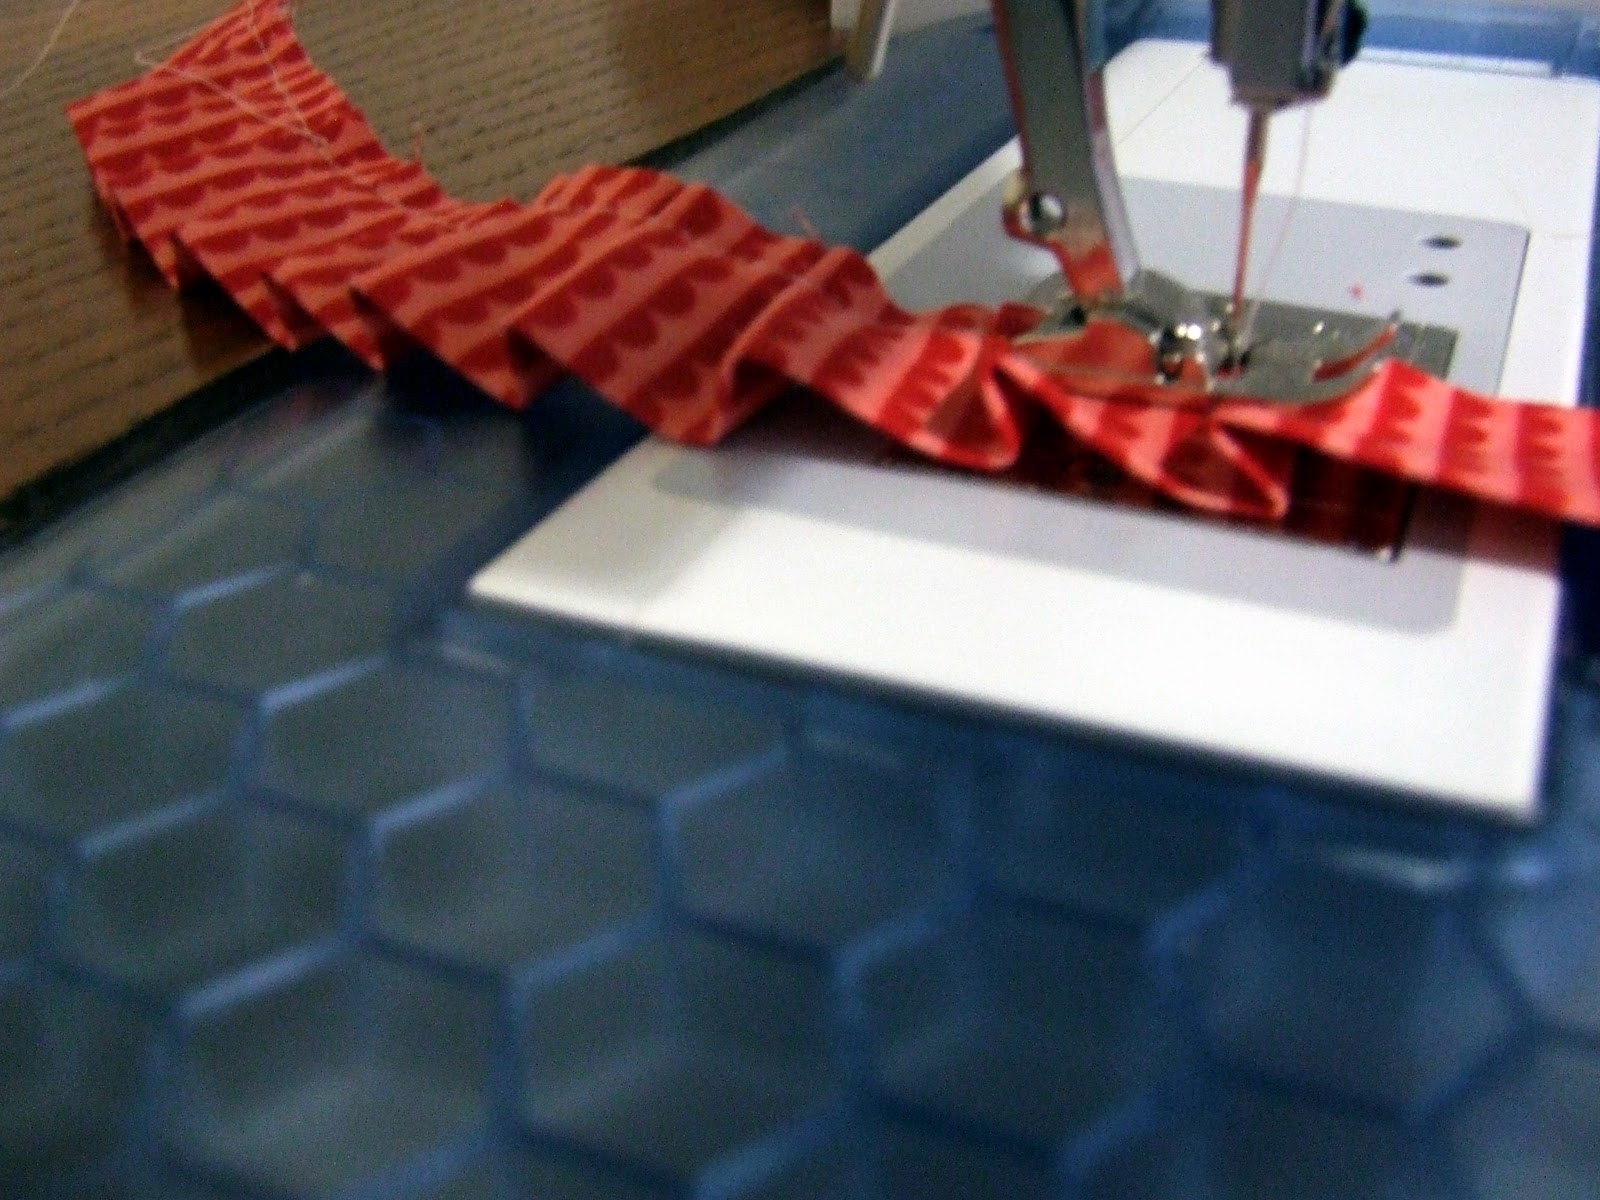
Step 7 - Make the ruffle for the top of the purse. Out of you third coordinating piece of fabric, cut a strip of fabric that measures 2 1/2" wide by 22" long. Iron the fabric in half with the print on the outside. If the raw edges on the end of the ruffle bother you, just fold it over 1/4" before ironing it in half lengthwise and stitch. To make the ruffle I just sew along the length of the fabric (raw edges on the inside) and about every 3/4" make a pleat by folding the fabric up about 1/4" inch and then back down again. The picture below shows it much better than I can explain it. When you are done making the ruffle, sew it to the top of your bag. Finished off the edges by overlapping the two ends about 1/2".
Step 8 - Making the bag handle. Cut a piece of fabric that is approximately 2" x 11" out of the same fabric as your ruffle. Iron the strip of fabric in half, unfold and then iron the outside edges into the center like pictured below. Iron back in half (should be 1/2" wide) and stitch 1/8" in on both sides.

Step 9 - Pin handle to purse like pictured below and tack into place.

Step 10 - Binding around top of bag. I apologize for this very poor picture, I couldn't get my flash to work. I did this the same way I would bind a quilt. This is where you will use that little 1 1/4" wide piece of fabric that you saved from the lining. You will need to sew the two pieces together end to end, it should be about 16" inches long although you wont need nearly that much. Iron fabric in half lengthwise and then unfold and iron one side into the center (just like you did for the handle, but only one side).
Sew onto the top of your bag by placing the side of the binding that is not folded onto the top of your bag with print side down. Fold the very edge of the binding over about 1/4" to give the edge a finished look. Sew around entire opening of bag and when you get to the end, overlap the pieces 1/2" to 1" folding the very end over 1/4" before stitching down. Now the fun part (at least to me). Fold binding over onto the inside of bag an hand stitch down. If your bag is wrinkly when you're done, take a hand towel and wrap it around your hand. Put your wrapped hand inside of the bag and apply a warm iron to outside of bag until you are happy with how it looks.


One super cute party bag, for your little princess!

Nicole Willmore
Nenhum comentário:
Postar um comentário